

This option lets you purchase this character at a fixed price of , but does not unlock assets for unlimited downloads on future characters.
Select this option if you have a one-time download voucher. (You will be able to apply the voucher on the Cart page.)
This option does not unlock assets to your account.


Can't find what you're looking for? Let us know on the Asset Request Form!


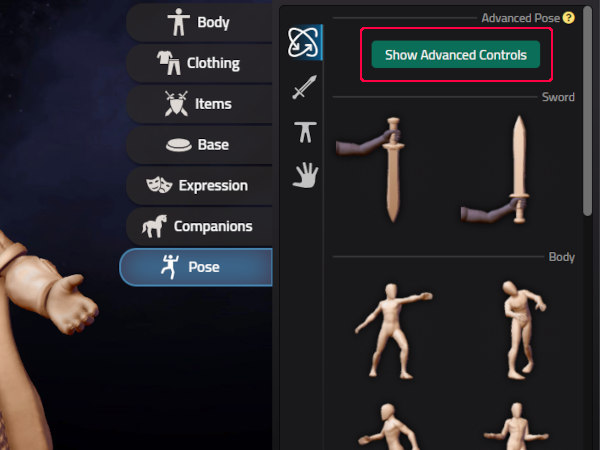
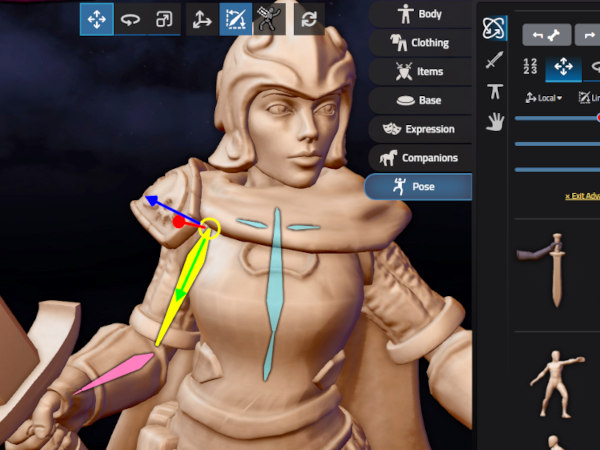
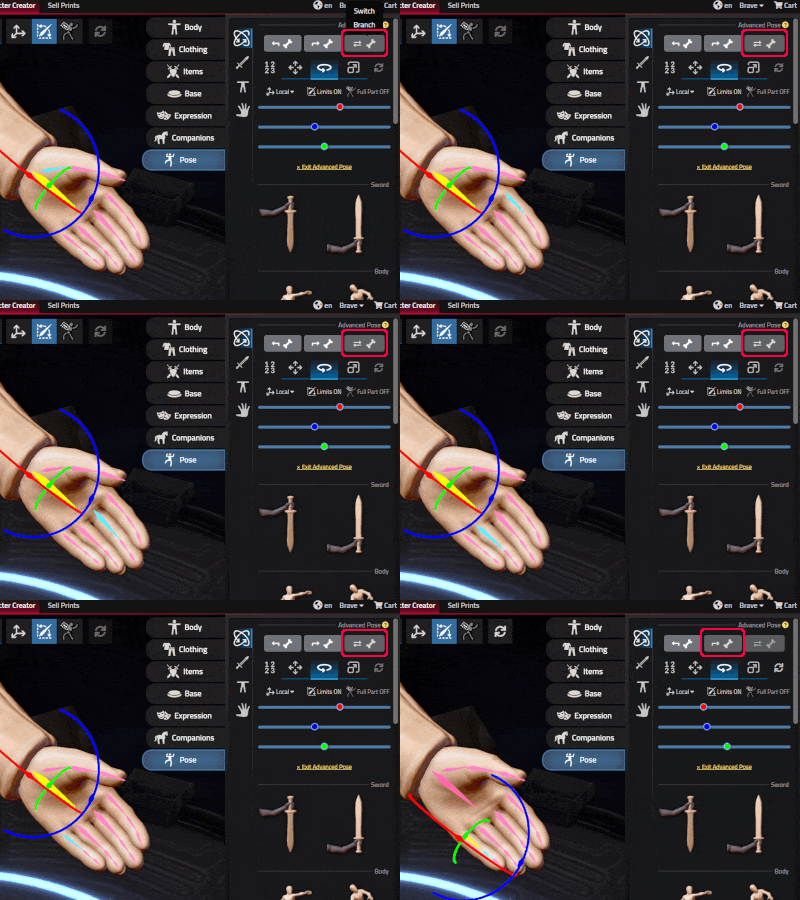
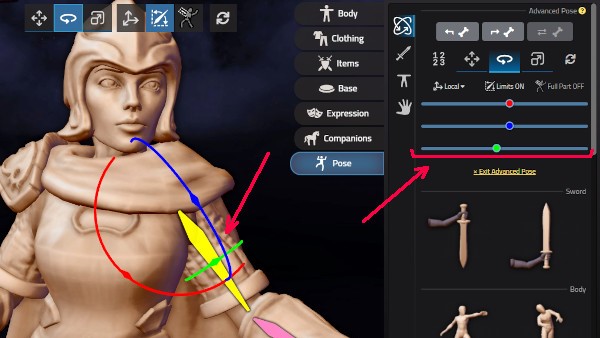

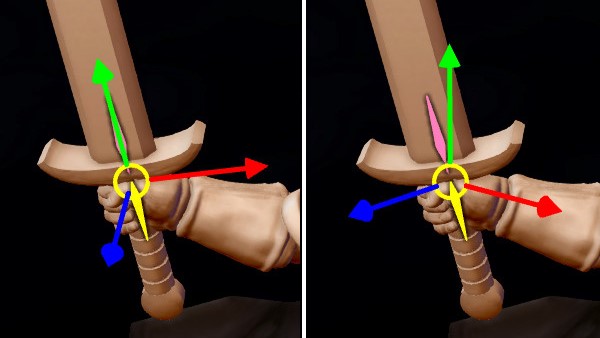
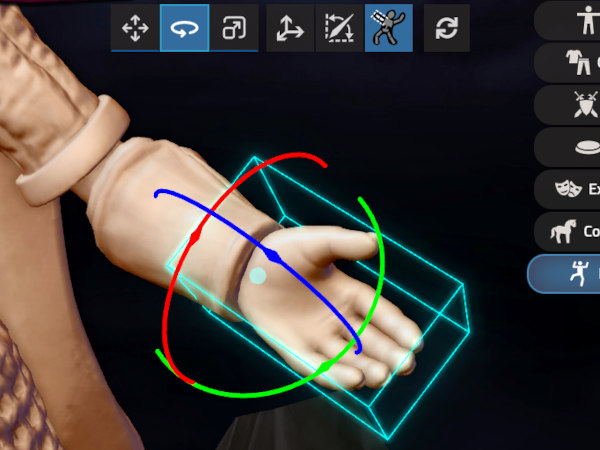
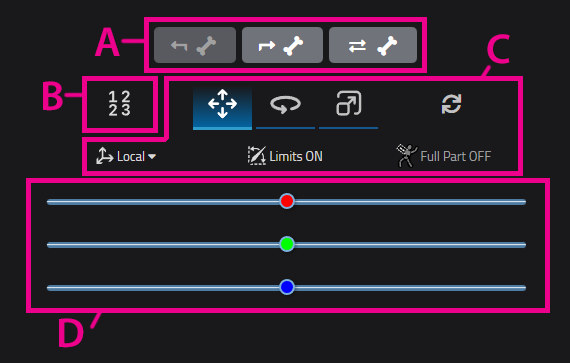
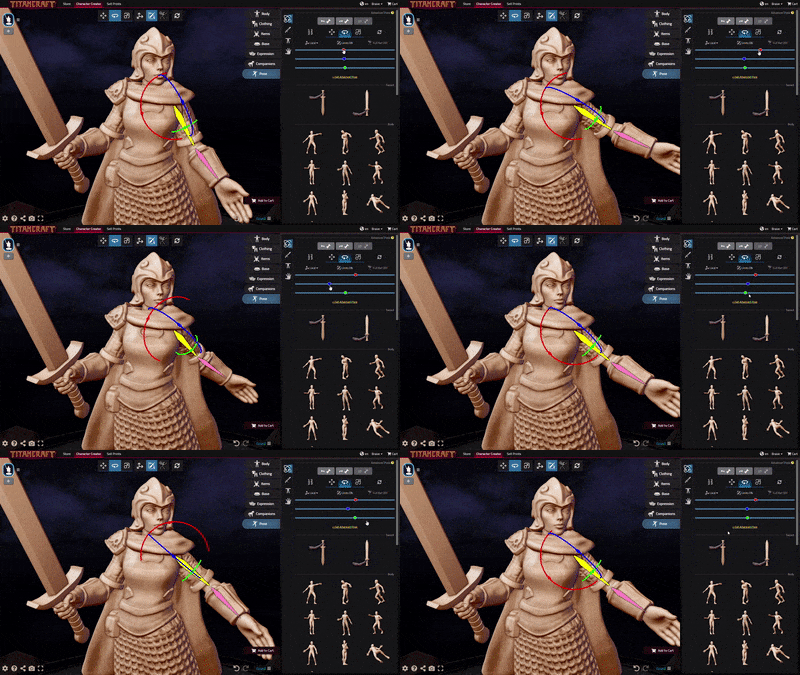
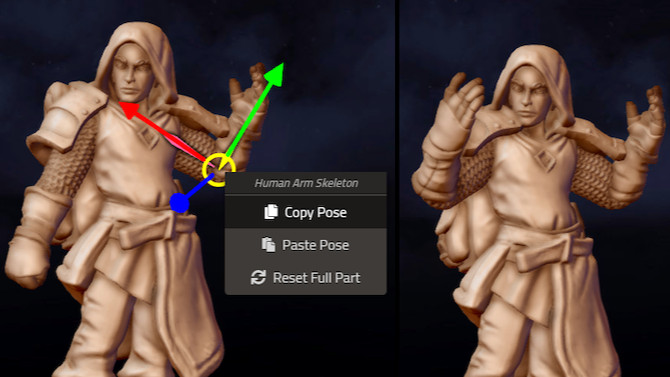
| Key | Function |
|---|---|
| r | Rotate bone |
| g | Move bone |
| s | Scale bone |
| Alt-r | Reset bone to default |
| Key | Function |
|---|---|
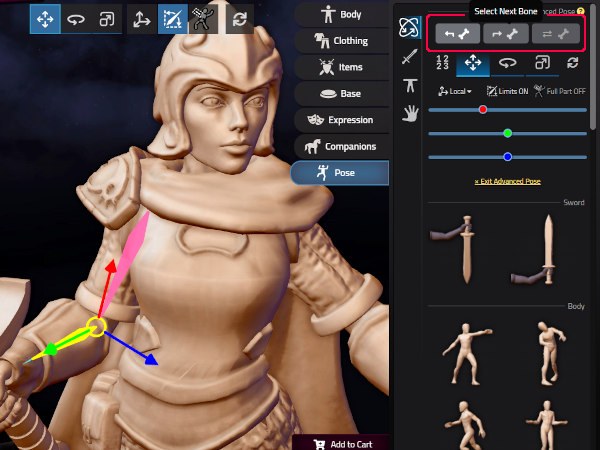
| Tab | Select next bone |
| Shift-Tab | Select previous bone |
| Left/Right Arrows | Select sibling bone |
| Key | Function |
|---|---|
| Escape | Enter/exit advanced pose mode |
| Space | Toggle 'Individual Bones' / 'Full Part' selection mode |
You can now control scene lighting within TitanCraft! Adjust color, position and intensity of light sources, and save your favorite combinations to use again later.
We've also added 22 ready-made presets to give you an easy starting point.
Find the new controls in the Environment -> Lighting tab.

Pose presets now adjust automatically to equipped items.


Asset packs are now automatically discounted to account for individual assets you have already unlocked.
This change also discounts asset pack bundles if you own any of the packs in the bundle.
In the event that an asset pack goes on sale, you will either see the sale price or your partial ownership discount price, whichever is lower.
See your discounts on the Store page.


The following assets have new versions!
Old characters will still load with the old versions of assets. You can update them by deleting the old assets and replacing them with their new versions.
Jared has written an excellent guide to 3D printing miniatures (resin printing).
If you are looking to improve the quality of your at-home printing, especially check out Printer Calibration and Supports.
