

Calibrate Exposure
Exposure time is the amount of time UV light cures each layer. During this exposure time, 3D printer resin chemically reacts with the UV light to form a solid material.
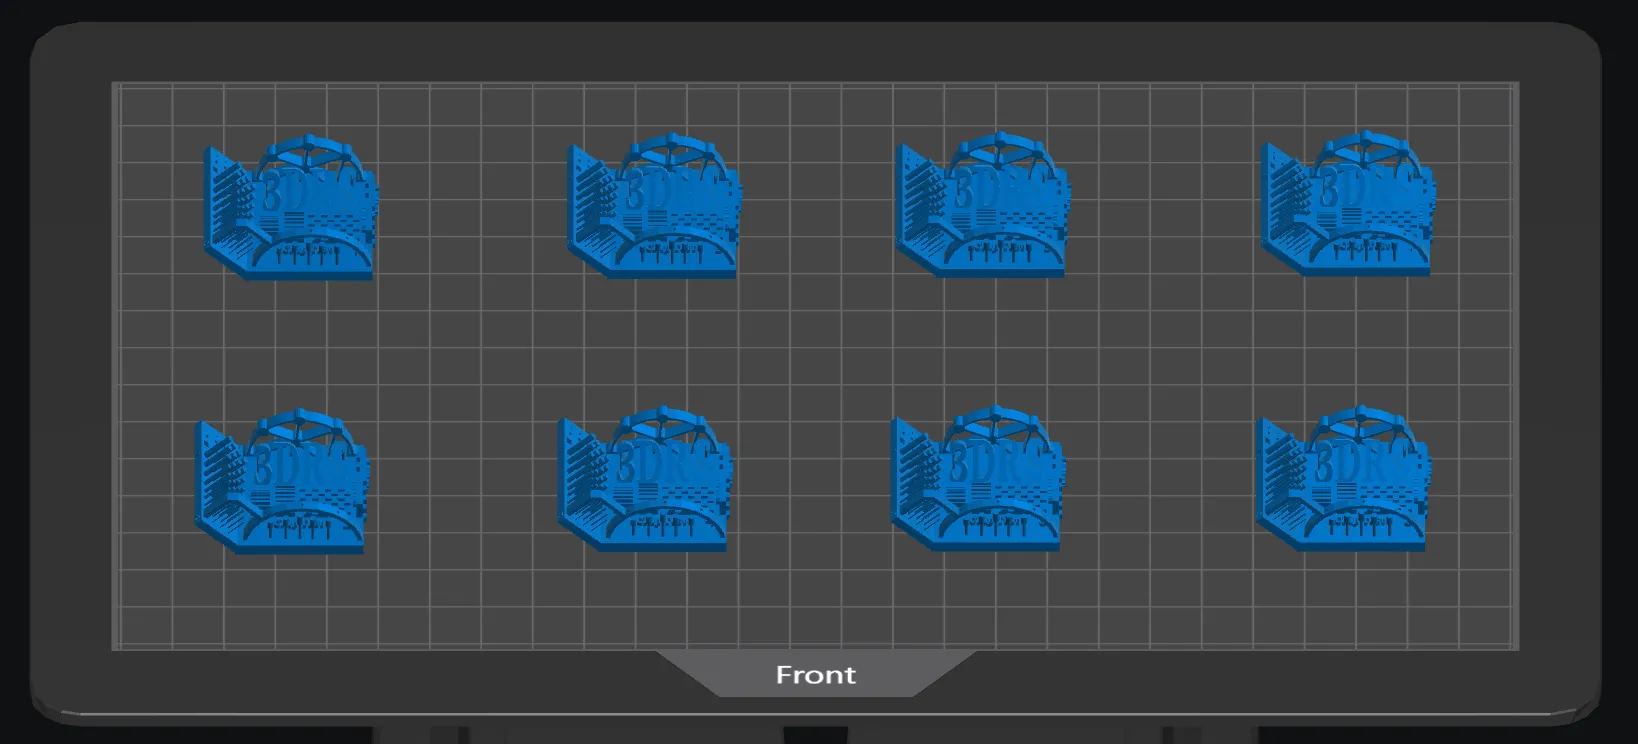
How to Calibrate Exposure Time
We recommend using our modified version of the 3DRS Chip Test, which can be downloaded here: Chip Test 1.3. If you wish to use a different calibration file, make sure it tests both accuracy and printability.
-
Set initial print parameters
- Layer Height: 50um
- Exposure Time: minimum resin manufacturer suggestion minus 0.25 seconds
- Bottom Exposure Time: minimum resin manufacturer suggestion
- Bottom Layer Count: 4
- Transition Layer Count: 8
- Print the first calibration file using the initial parameters.
-
Wash and examine the calibration print(s):
- If underexposed, increase the normal layer exposure time.
- If overexposed, decrease the normal layer exposure time.
- Use 0.5 seconds for large adjustments, 0.25 seconds for small adjustments, and 0.1-0.2 seconds for fine tune adjustments.
- Refer to How to Read Calibration Tests for specific information.
- Print the calibration file again using the updated parameters.
- Repeat steps 3-4 until you have achieved both printability and the highest accuracy possible.
Bottom Layer Calibration
When removing your calibration prints from the build plate, pay attention to how much force is required to remove the prints.- If it is very hard to remove, decrease your base layer exposure time by 2-5 seconds.
- If it is very easy to remove, increase your base layer exposure time by 2-5 seconds.
A proper bottom layer exposure firmly holds your prints to the build plate, while still allowing you to remove the prints using light force with your scraper tool.
When to Calibrate Exposure Time
You should calibrate your exposure time whenever (i) using a new resin, (ii) using a new printer, (iii) using a new layer height, (iv) experiencing print failures or (v) seasons change (unless printing in a climate controlled space or your printer has a built in heater).
Tips
- Print the calibration test on multiple parts of the build plate, including the corners and center.
- You need to calibrate exposure times for different layer heights.
- Some printers have a feature that lets them test multiple exposure times simultaneously, which makes the calibration process much faster.