

Level Build Plate
The very first step you should take when setting up a new printer is leveling the build plate.
A properly leveled printer has
- Equal tension between the leveling paper and build plate on all 4 corners
- Enough compression where the leveling paper can be moved with resistance.
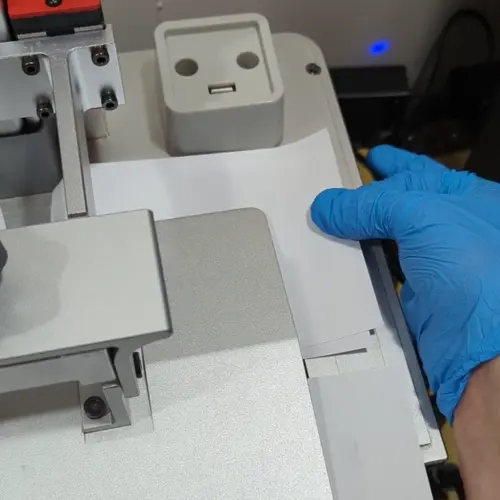
How to Level a Buildplate
1. Clean the buildplate, install it on the printer and tighten the knob.
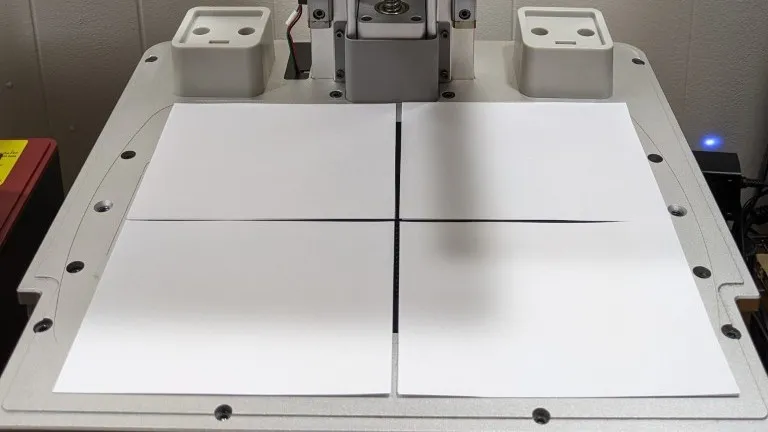
2. Remove the vat and place 1-2 sheets of paper cut into 4 sections on each section of the screen.
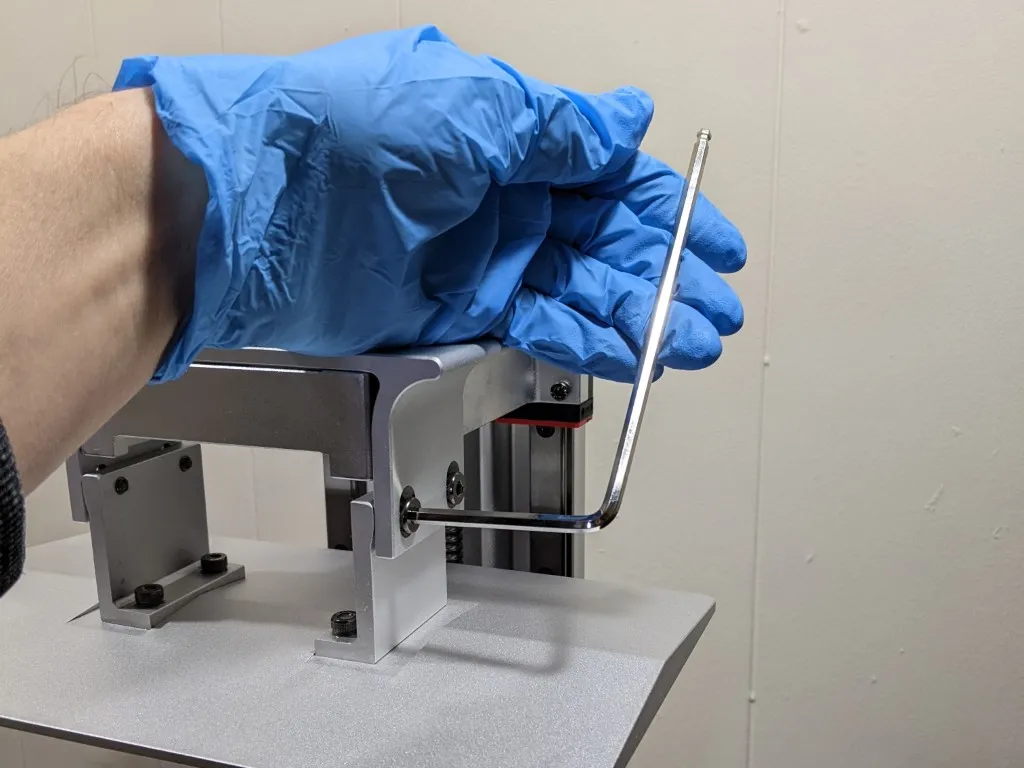
3. Loosen the build plate screws.
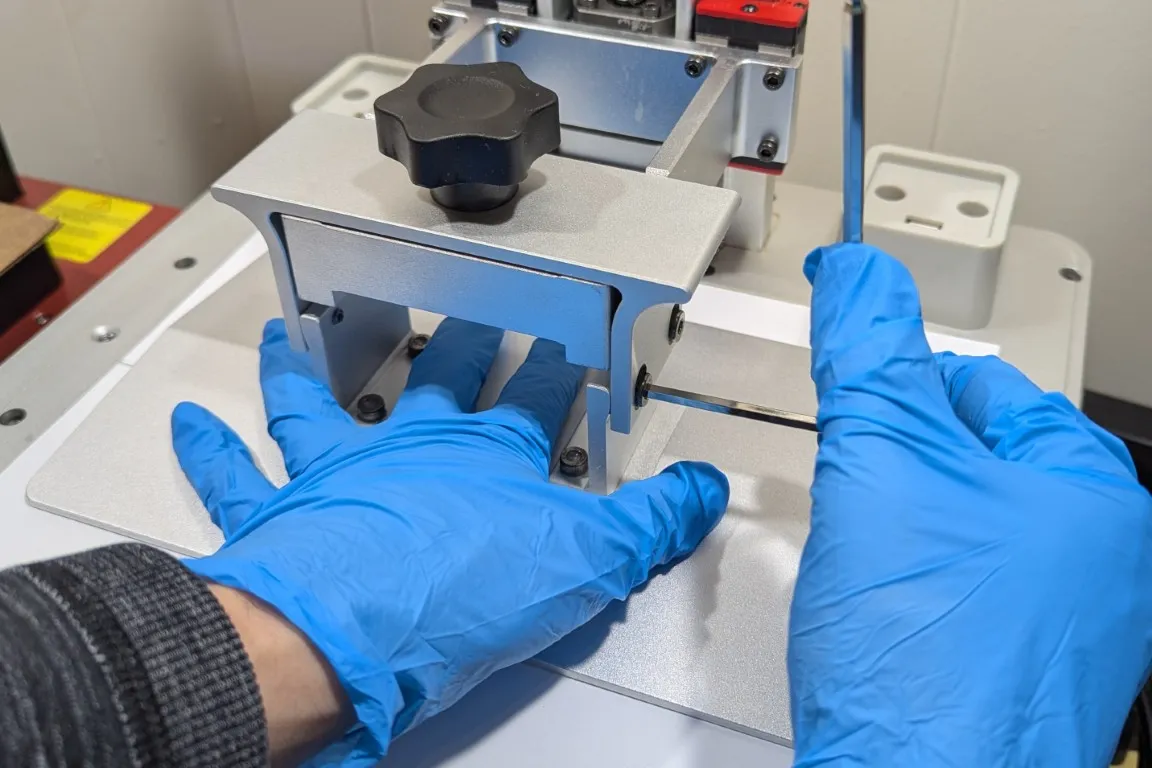
4. Move the build plate to the Home position using your printer z-lift function.

5. Apply light pressure equally on the build plate and tighten the build plate screws.
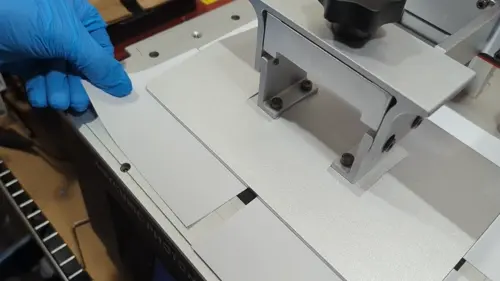
6. Move the leveling paper on each corner to ensure there is equal tension. The paper should be able to move but with resistance.
- If the paper cannot be moved, there is too much compression. Use the z-lift function to move the build plate up in 0.05-0.1mm increments until the paper can be moved with resistance.
- If the paper can be easily moved without resistance, there needs to be more compression. Use the z-lift function to move the build plate down in 0.05-0.1mm increments until the paper can be moved with resistance.
- If there is unequal resistance at each corner, loosen the screws and retighten the build plate while trying to apply even pressure.
Unlevel Build Plate: leveling paper moves without resistance.
Level Build Plate: leveling paper can move, but has some resistance.
Tips
- Use 1-2 sheets of paper when leveling your printer.
- Newer printers that advertise "auto-leveling" still can have leveling issues! If you have a leveling issue with one of these machines, follow the Manual Leveling Guides provided by the manufacturer.